 I’ve been keepin’ myself busy over at Tertiary, having fun making these great characters. Unlike Frog Family and Critter Song, the characters in this production are having armatures built for them, which will allow them to do a great deal more things than the non-armature characters, mainly walk.
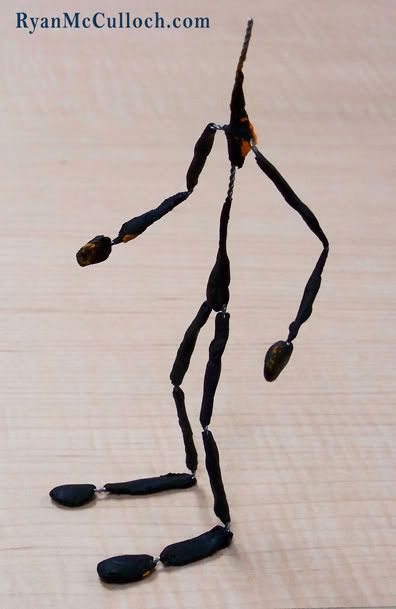
 The first step to building an armature (The way I do it at least), is to twist two pieces of wire together with an electric drill on one end and some pliers at the other end. Then I take some plumber’s epoxy putty and put it on the wire. You want to cover all the wire with a thin bit of putty. The putty represents the “bones” of the characters, so leave exposed wire where you want the joints to be.
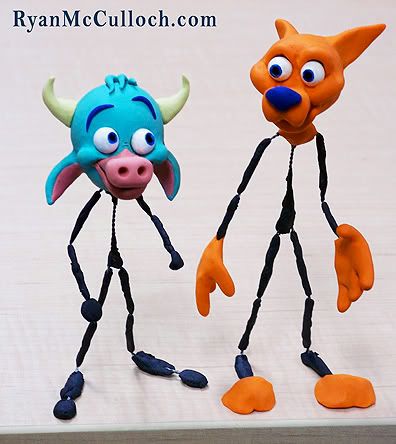
Above you can see the armatures with the heads so you can get a better idea about the characters’ proportions.
 My initial sculpt of the fox was way to large and would have been problematic so I had to scale him down. Here you can see the difference in sizes. The lighter the head, the more capable he’ll be at various movements.
Before I can start sculpting the clay onto the armatures, I first have to melt some on to bond with the armature, this will keep the clay sticking to it much better, and keep the armature from busting out of the character’s flesh like some cheap 80’s horror flick. I used a double boiler (I pan within a pan of boiling water) to melt the clay and then applied it to the armatures.
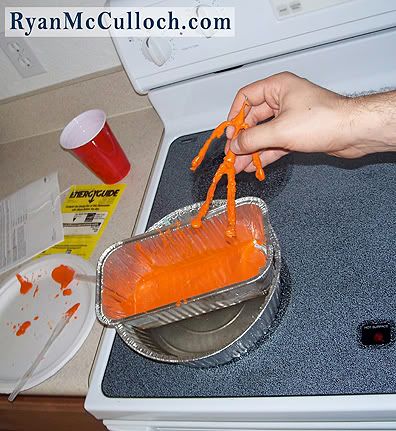 WARNING: If you plan on doing this, make sure you are in a very well ventilated space, with lots of windows open, etc. The clay fumes can get nasty. Also remember to not cook the clay directly on a stove top pan, use the double-boiler, because it keeps the fumes to a minimum, and keeps the clay from burning.
This is a very brisk description of how this is all done, maybe in the future I’ll go into a lot more detail for those who are interested. Until then, I should probably get back to work. Ciao!


1 comment:
cant wait to see them move!
hope?
jriggity
Post a Comment